Soooooo.....Thank you so much to all of you for being so patient with me. The month of May was the kick off to wedding season and it kicked my butt. I loved it!! Lets finally finish this "no makeup" makeup look.
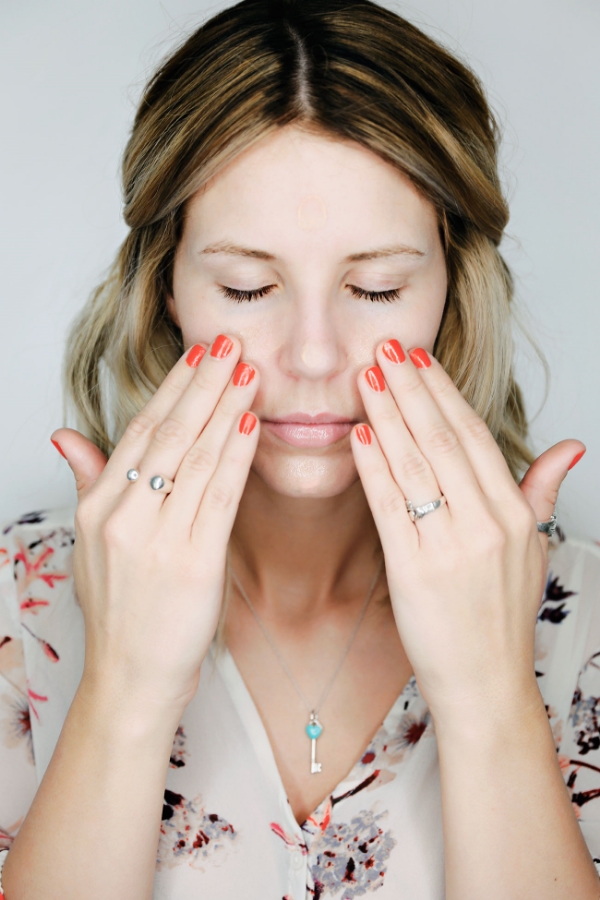
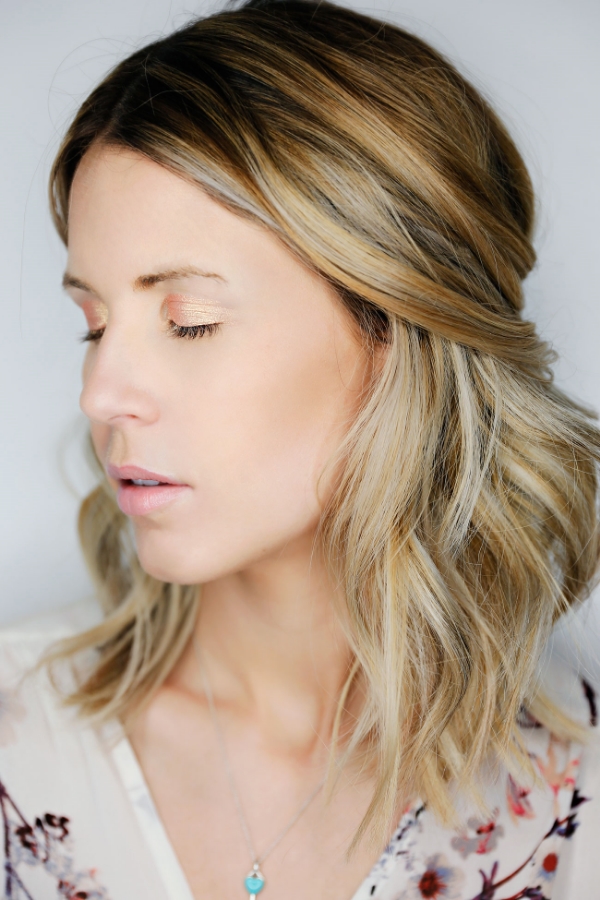
We ended on talking about baking the under eyes to set our concealer. Once we've baked that face, it't time to add some bronzer to warm up the skin and put some color back into it. **Remember, your face is three dimensional, putting on a tinted moisturizer, bb cream, cc cream, foundation, etc.. (the list goes on), can take out the dimension in your face. Bronzer and blush really help to put that natural color bank into the skin.
The list of my favorite bronzers can go on and on. The trick is to get one that is not to orange. Mac Mineralized Skinfinish in the color Give Me Sun! is one of my go to's. Some people feel this color is a little to orange for them so it really is all about personal preference and what you think looks good on your skin.
One tip I use when remembering where to put my bronzer is to apply it to where the sun hits your face. That is going to be your cheek bones and forehead along the hair line. I like to apply mine with the Real Techniques Multitasking Brush. This brush isn't super dense which allows to a nice, natural looking application.
Remember, we aren't going to a photoshoot. No need for really dramatic, harsh bronzing or contour. Keep it light and natural.
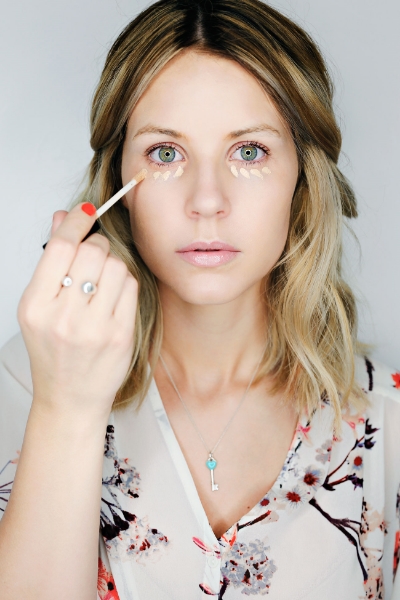
When going for quick eye makeup, I love using Mac Paint Pots. They have a variety of different colors. Some shimmer and some matte. These are great because even though it is a cream, it will not crease. These paint pots can used just by themselves or you can add some eyeshadow over it to really intensify the look.
I'm all about peach tones lately. The paint pot in the color Rubenesque is perfect for giving me the peachy tone that I want. It has some shimmer to it to help make your eye pop. Its amazing!
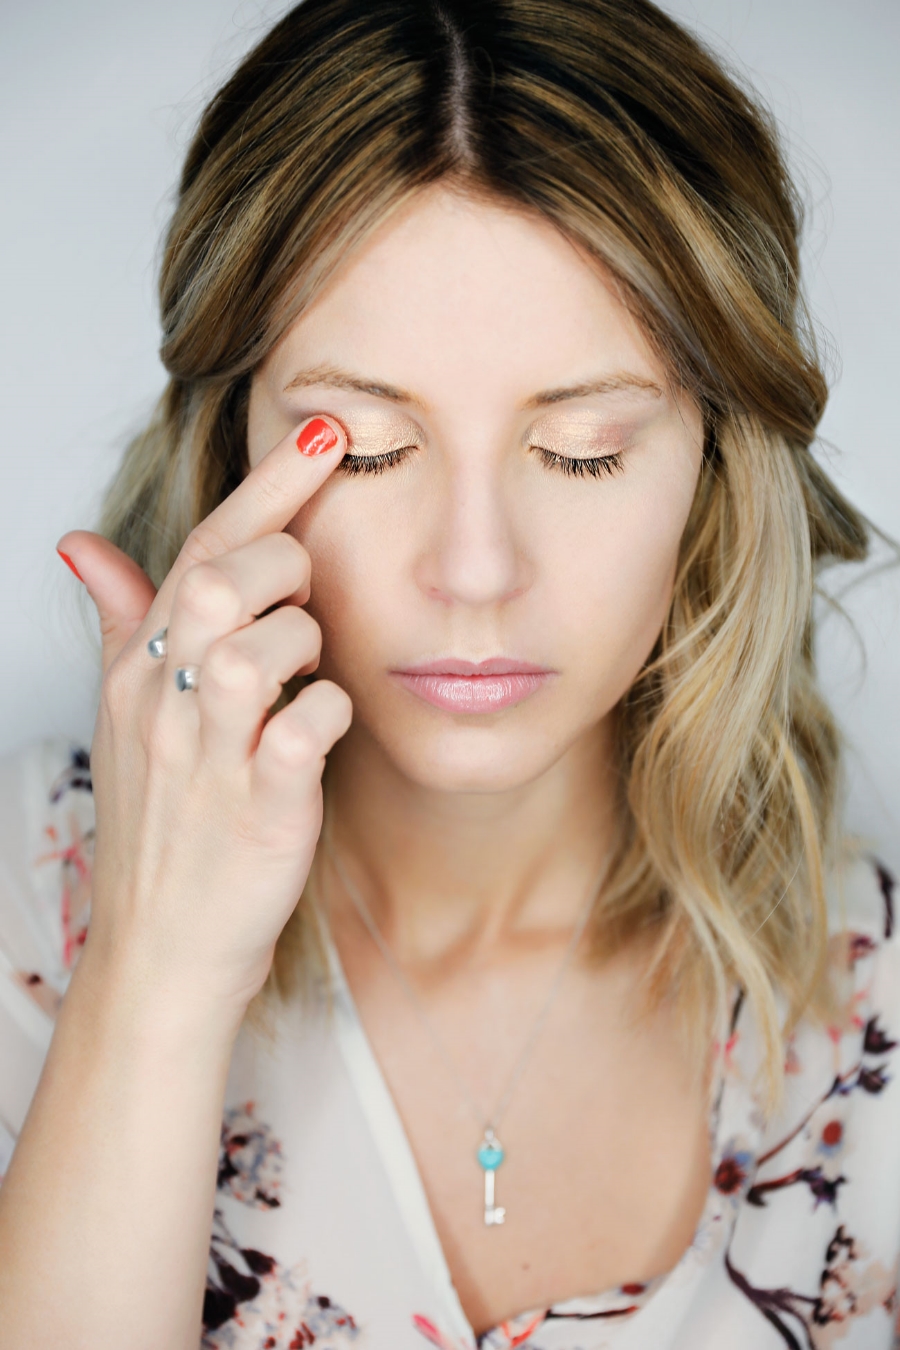
I like to use my finger and just apply to my eyelid. They are so easy and quick to use.
If you want to intensify the eye, take a Mac Pigment in the color Melon and using your finger, apply over the top of the paint pot.
To finish off the eye makeup, take a brown eyeliner and line your eyes as close as you can to the lash line. Keep it very thin. This will give this appearance of some extra volume to your lashes. And for real, who doesn't want.
I prefer using a pencil or crayon eyeliner for this. They aren't as harsh and give a softer line. I had a Nars little sample eyeliner that I used but really anyone will do.
Take same Mascara and pop it on the top and bottom lashes. If you haven't heard me talk about it yet, Mac Extreme Dimension mascara (be sure to NOT get the 3D Black Lash one, it's no good) is where it is at!! Everyone needs this and anyone that I tell about this mascara gets instantly hooked. Its a real real good one!
Last to finish off those eyes, we are going to fill in them brows. If you can't see in this pic, I was growing out my browns so they are a bit furry. I used the Seventy7 Cosmetics eyebrow gel in the color Neutral. It's some good stuff. Remember, we aren't going for that Instagram brow so again, keep it natural.

Lets add a little blush to add some more color into the skin.

Take a Sigma F40 brush and apply your blush to the apples of your cheeks, blending it into the bronzer. Again, I'm all about peach tones so my go to blush lately is Style by Mac. It has a very slight shimmer to it to really help make your skin look glowing.
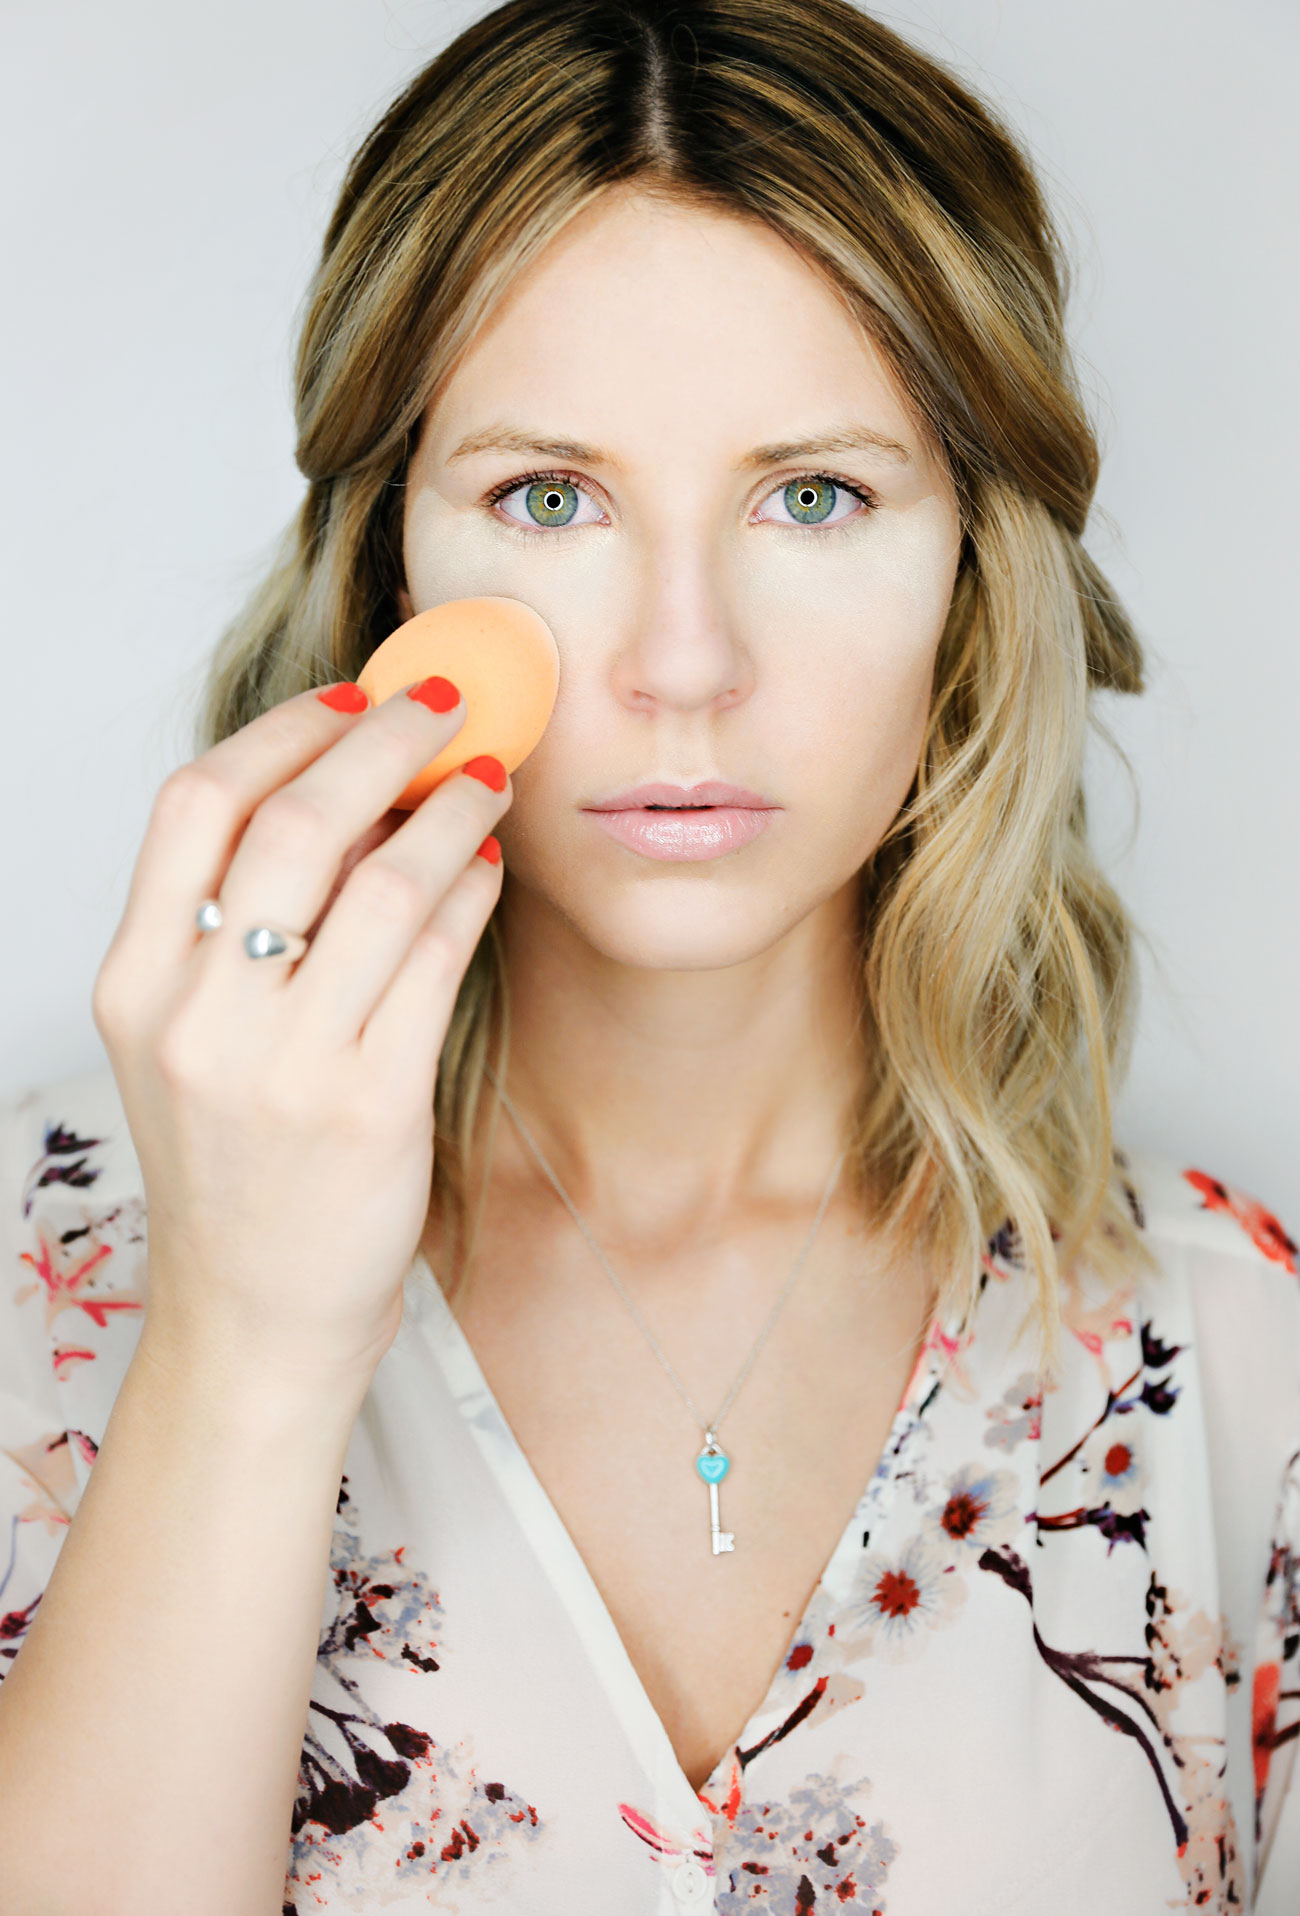
To really add a little extra something to your skin that I can not live without, use a shimmer highlighter and apply to the very top of your cheek bones.

My absolute favorite, holy grail shimmer highlight is Mac Mineralize Skin Finish in the color Soft and Gentle. Peeps, highlighters don't get much better than this one. Take a Real Techniques Duo Fiber Contour Brush and with a light hand, apply that bad boy highlight to the very tops of your cheek bones. Your skin will have never looked so amazing!
Last but most DEFINITELY not least, those lips! We can't forget about that pretty little pout of yours.
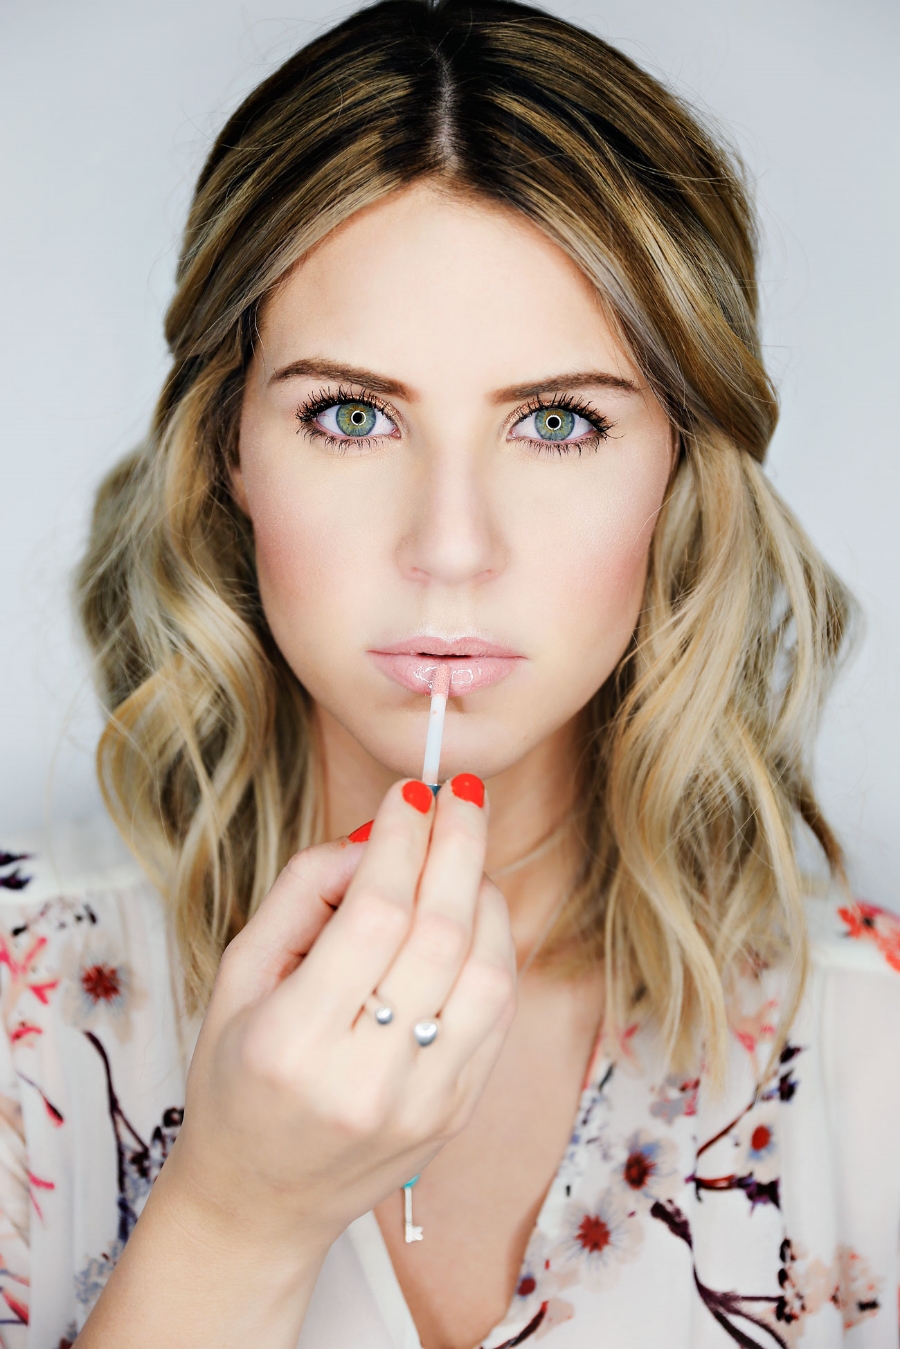
My favorite lip product is Buxom Lipgloss in the color Sandy. Its a little bit of a pretty penny but oh man, is it worth it! It tingles your lips a little so it gives them a nice little plump!
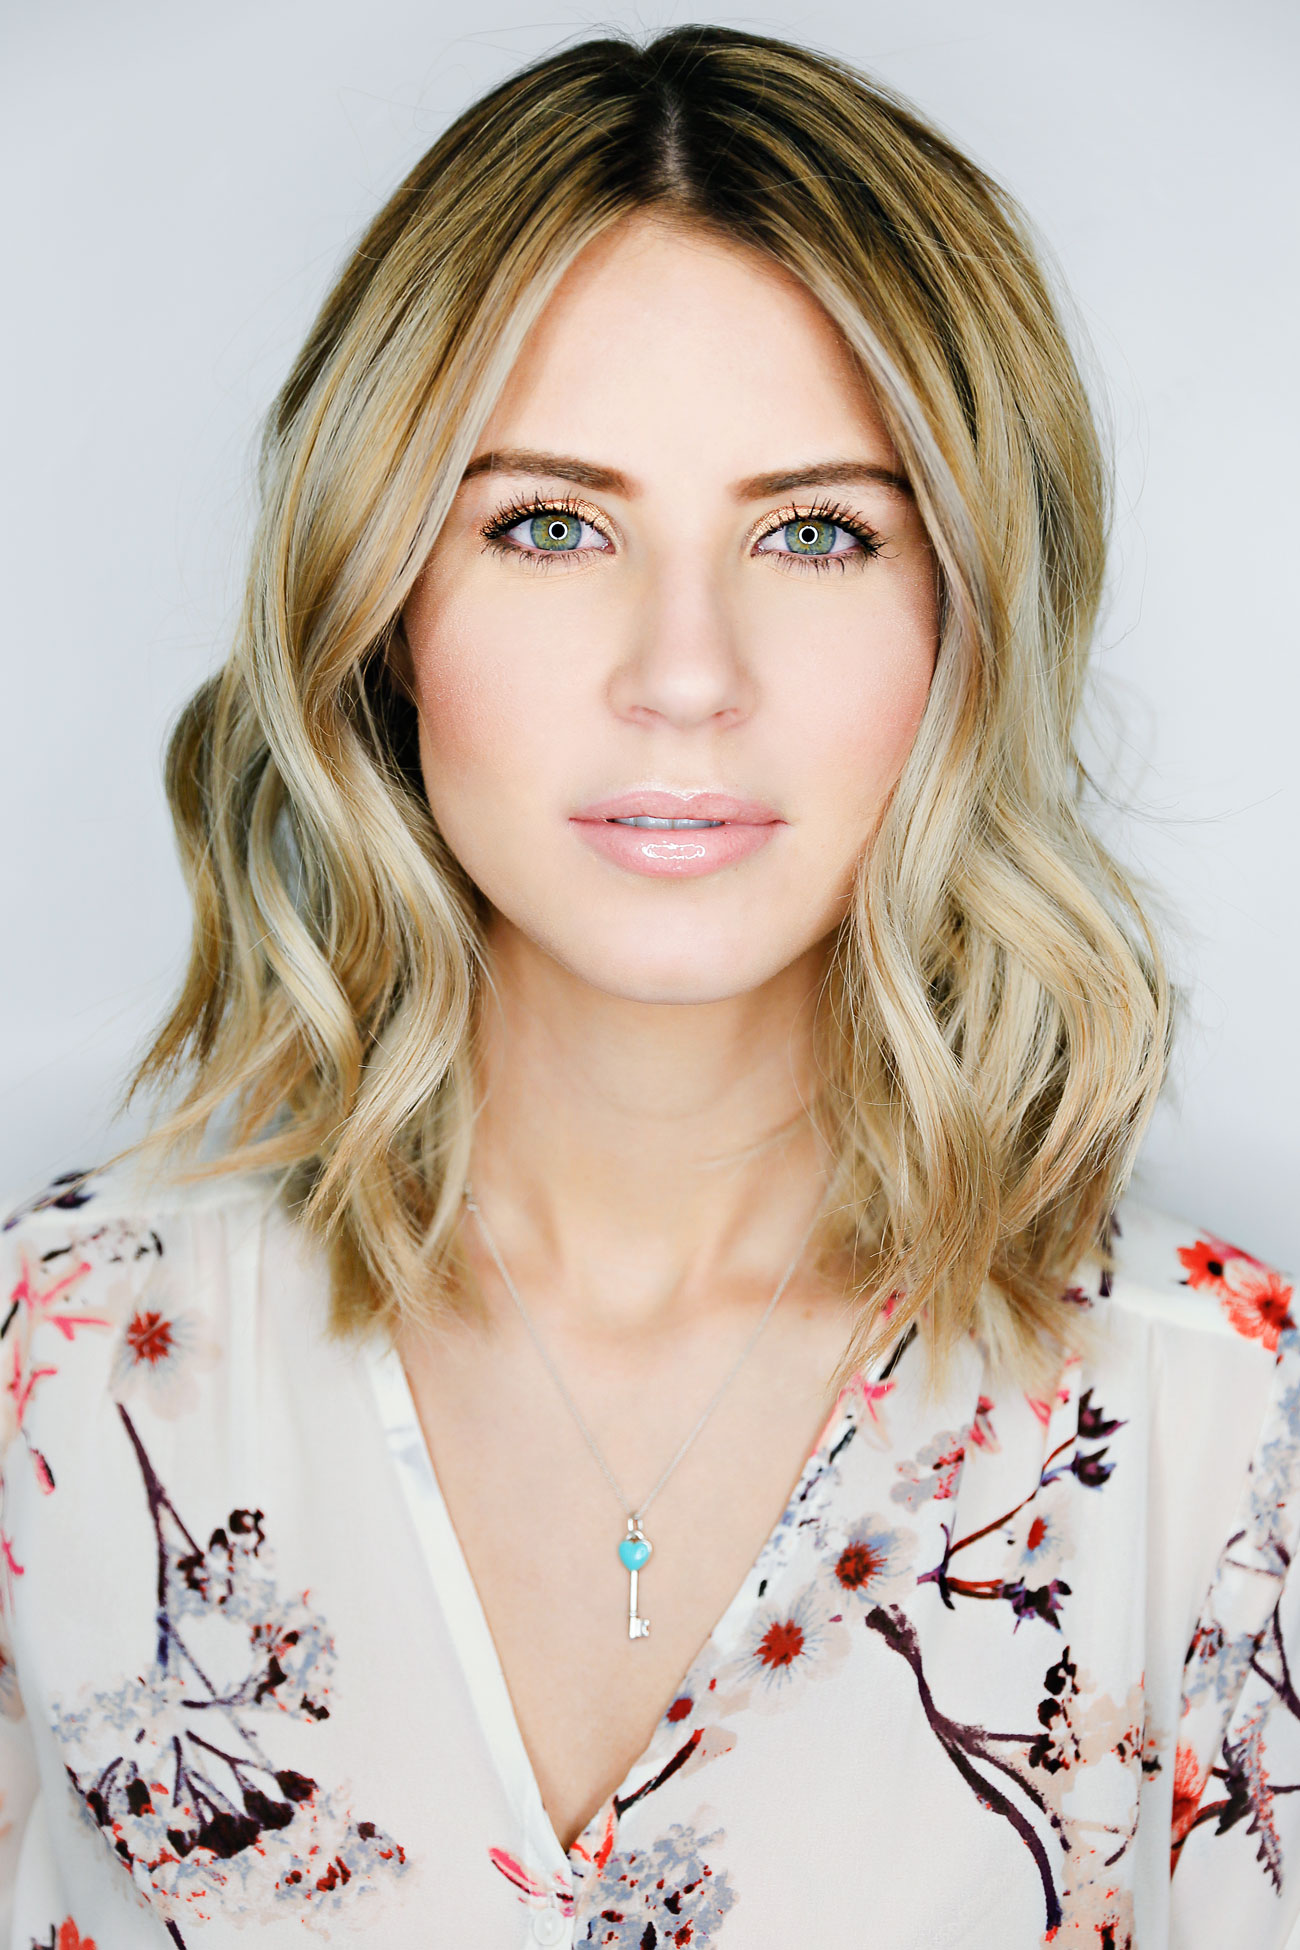
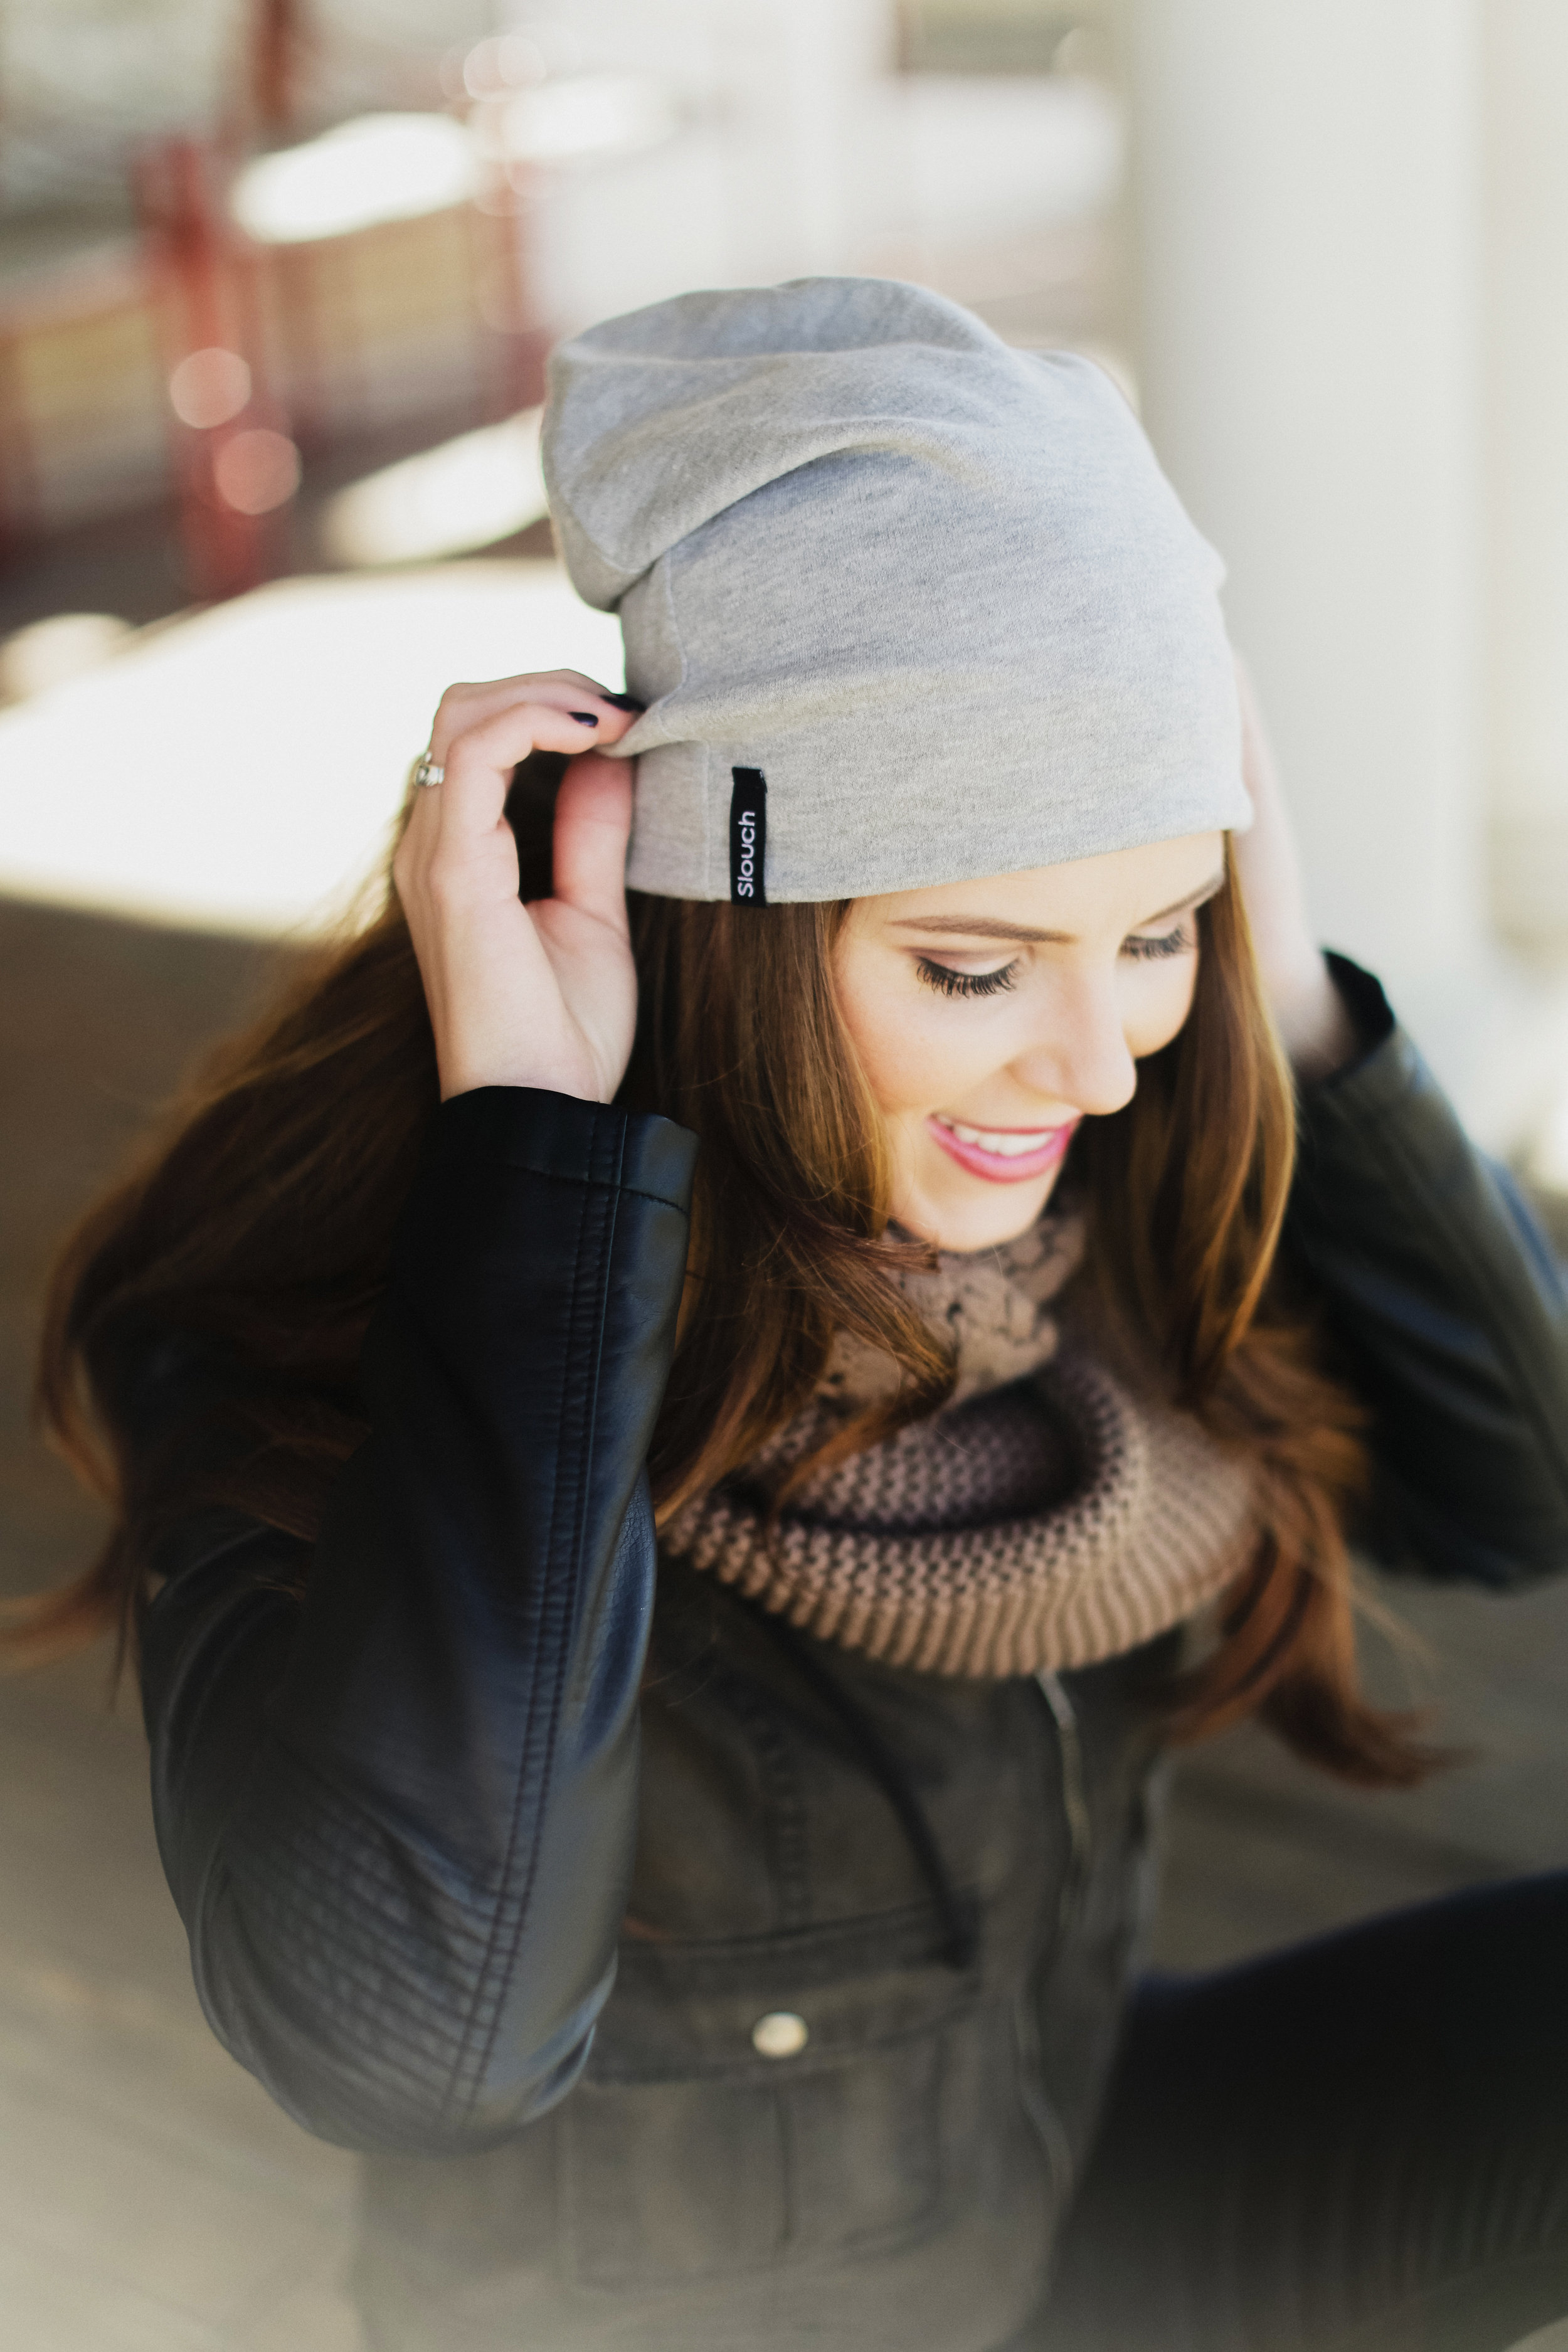
And BOOM!!! Now you have my secrets on how to achieve natural looking makeup!


Feel free to ask any questions!
-whit